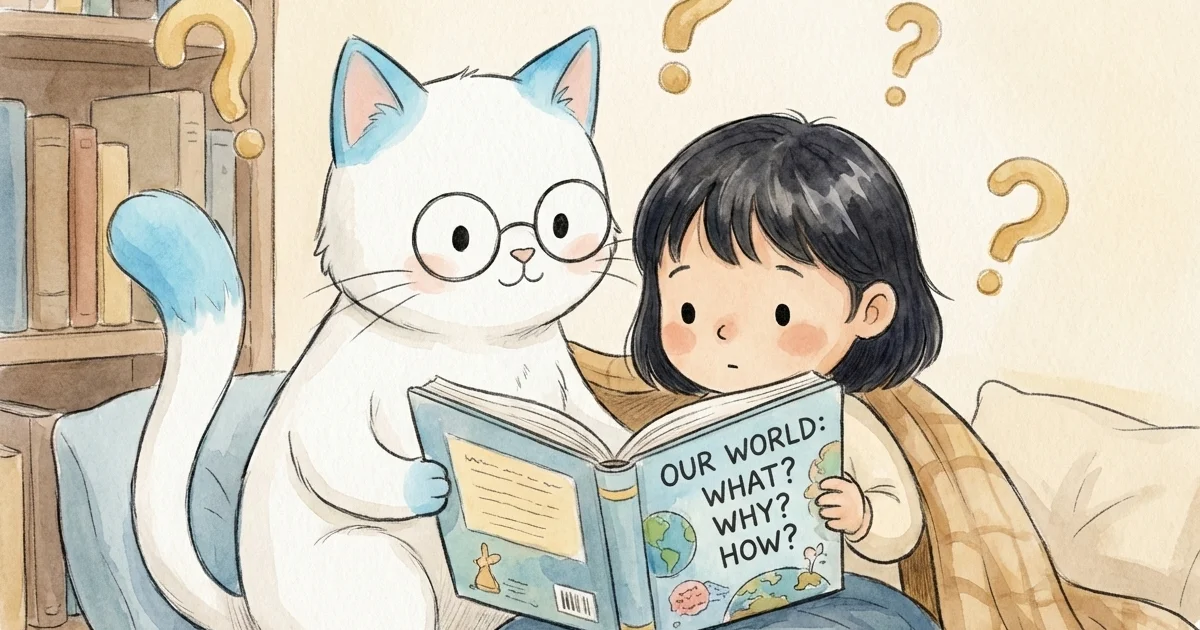
3 Fun Cardboard Box Crafts for Kids | Earth Day Upcycling Ideas
The doorbell rings. Another package arrives. You smile at first, then glance at the hallway where the box pile has started to resemble a small fort.
Sound familiar?
Here is the thing that toy companies do not want you to know. Kids often love the box more than what came inside it. That plain brown rectangle is a blank canvas. A rocket ship waiting for blastoff. A castle needing a king. A robot costume missing its kid.
With Earth Day around the corner, let's turn that cardboard mountain into something magical. Not only are these projects completely free, but they also teach our kids about reusing and reimagining instead of just throwing away.
Grab your scissors, some tape, and a handful of markers. Let's make some memories.
Why Cardboard Crafts Are So Good for Kids
Before we dive into the projects, let's talk about why cardboard is basically the best toy ever.
It builds problem-solving skills. When a child looks at a flat box and sees a spaceship, they are doing some serious mental work. They have to plan, measure, and figure out how flat pieces become three-dimensional structures.
It encourages open-ended play. A plastic toy usually has one purpose. A cardboard box can be anything. Today it is a car. Tomorrow it is a cave. Next week it is a time machine.
It teaches sustainability. When kids turn trash into treasure, they learn that not everything needs to be new or store-bought. This is a lesson that sticks with them.
It buys you time. Real talk here. A good cardboard project can keep a child busy for hours. That is worth its weight in gold when you are staring down a long afternoon.
Now let's get building.
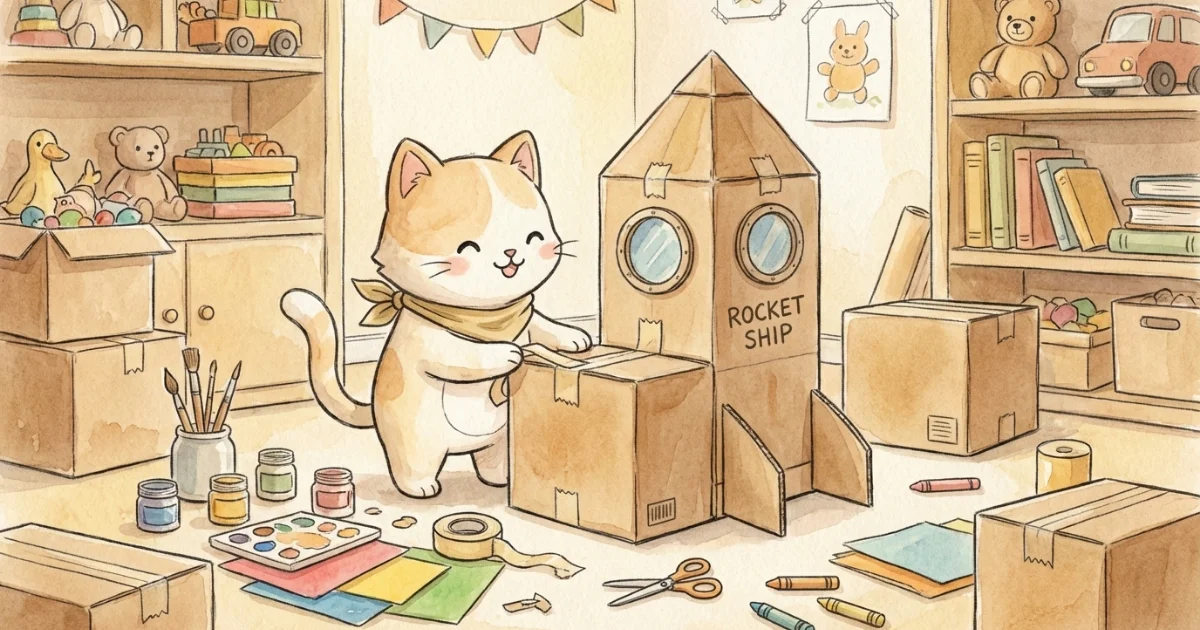
Project 1: The Cardboard Rocket Ship
Every kid deserves to blast off to space at least once a week. This rocket ship is simple enough for little hands but cool enough to impress older kids too.
What You Need
- One large rectangular box (appliance boxes work great, but any big box will do)
- Scissors or a box cutter (grown-up job)
- Packing tape or duct tape
- Markers, crayons, or paint
- Aluminum foil (optional, for that shiny space look)
How to Make It
Step 1: Cut off the top flaps of your box. These will become the nose cone.
Step 2: Take two of the flaps and tape them together at the edges to form a triangle or pyramid shape. Tape this to the top of your box. Now you have a rocket nose.
Step 3: Cut a door on one side. Make sure it still attaches at one edge so it can open and close. Astronauts need a way in and out.
Step 4: Cut a window. Keep it simple with a square or circle. Your pilot needs to see the stars.
Step 5: Add fins at the bottom using leftover cardboard pieces. Tape them at an angle on three sides.
Step 6: Decorate! Draw control panels inside. Add buttons, switches, and screens. Use aluminum foil for a metallic look. Write a cool name on the side.
Play Ideas
Once the rocket is ready, the real fun begins. Here are some ways to extend the play:
- Create a mission control station with a smaller box nearby
- Draw paper stars and hang them around the play area
- Make paper helmets out of paper plates
- Use a paper towel roll as a telescope
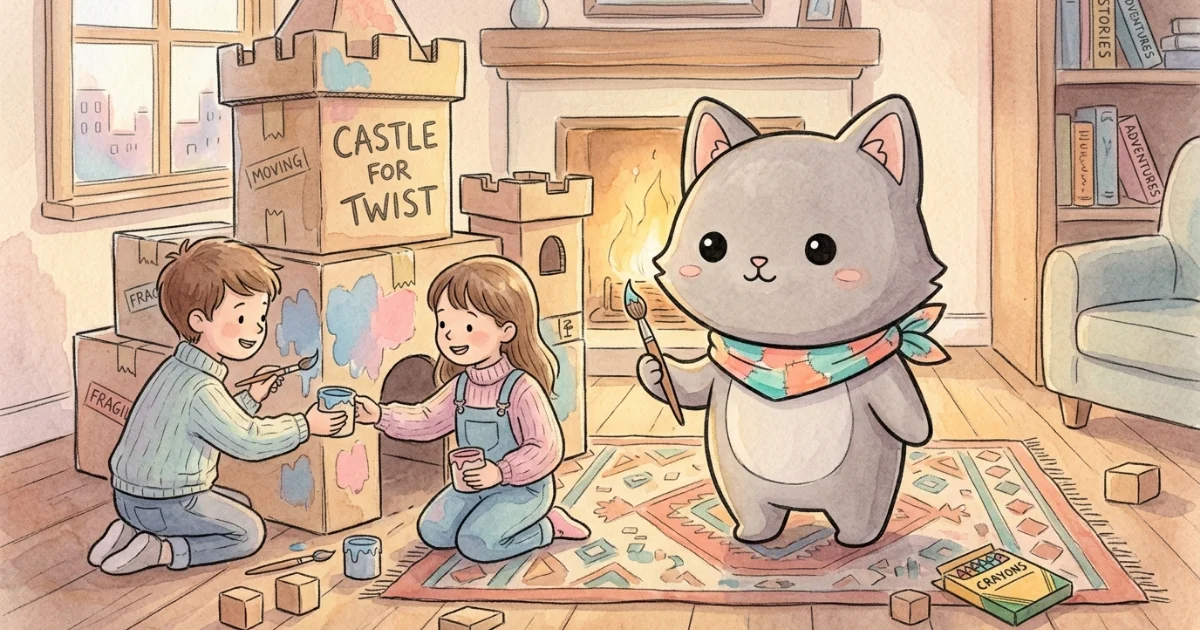
Project 2: The Cardboard Playhouse
This one takes a bit more time, but the payoff is huge. A cardboard playhouse can provide months of play value.
What You Need
- Two or three medium to large boxes
- Scissors or box cutter
- Strong tape
- Markers, paint, or construction paper
- Glue
How to Make It
Step 1: Choose your base box. This will be the main structure.
Step 2: Cut windows on multiple sides. You can make them square, arched, or even circular for a whimsical look.
Step 3: Create a door by cutting along two sides and the bottom of a rectangle. Leave the side attached so it swings open.
Step 4: If you have extra boxes, attach them to create rooms. A second box on the side can be a kitchen or garage. Tape everything securely.
Step 5: Make a roof. Take a large piece of cardboard and fold it in half. Tape it to the top of your house structure.
Step 6: Add details. Draw bricks, flowers, or siding. Cut construction paper to make curtains for the windows. Create a mailbox from a small scrap.
Play Ideas
- Set up a pretend kitchen inside with toy food
- Use it as a quiet reading nook
- Turn it into a store front
- Decorate it differently for each season or holiday
Project 3: The Cardboard Robot Costume
This project is perfect for kids who love dress-up. It is also surprisingly easy to customize for different ages.
What You Need
- A box that fits over your child's torso (not too tight, not too loose)
- A smaller box for the head (optional)
- Paper towel or toilet paper rolls
- Bottle caps, buttons, or jar lids
- Aluminum foil
- Silver paint or markers
- String or ribbon for straps
How to Make It
Step 1: Cut armholes on both sides of the main box. Make sure they are big enough for comfortable movement.
Step 2: Cut a head hole at the top. Test the fit before moving on.
Step 3: Cover the box with aluminum foil or paint it silver. This gives it that robot shine.
Step 4: Add robot details. Glue bottle caps as buttons. Attach paper towel rolls as arms or antenna. Draw a control panel with markers.
Step 5: If making a headpiece, take your smaller box and cut eye holes. Cover with foil and add antenna using cardboard strips.
Step 6: Attach string or ribbon as shoulder straps to help hold the costume in place.
Play Ideas
- Practice robot walking and talking
- Have a robot dance party
- Create robot adventures around the house
- Make matching robot costumes for siblings or friends
Tips for Cardboard Crafting Success
After many cardboard projects (and a few failures), here are some things I have learned:
Let kids do the decorating. It might not look Pinterest-perfect, but that is not the point. When kids make it themselves, they play with it longer.
Keep a cardboard stash. When you get a nice sturdy box, break it down and store it. You will be glad you did on a rainy day.
Use what you have. Do not run out and buy fancy supplies. Old magazines, dried pasta, fabric scraps, and even junk mail can become decorations.
Take photos. These creations will not last forever. Document them before they get loved to pieces.
Make it a group activity. Cardboard projects are more fun with friends or siblings. Plus, it teaches teamwork and sharing.
The Earth Day Connection
While we are having all this fun, there is a bigger lesson happening too.
Every year, millions of tons of cardboard end up in landfills. When we reuse a box before recycling it, we extend its life. We show our kids that resources are valuable. We teach them to look at everyday objects with creative eyes.
This is not about being perfect. It is about small choices that add up. Choosing to make instead of buy. Choosing imagination over convenience. Choosing to spend an afternoon building together instead of scrolling separately.
Ready to Start Creating?
Cardboard crafts are just one piece of the screen-free puzzle. If you are looking for more simple ways to fill your days with creative play, we have something that might help.
Our free 7-Day Starter Kit is packed with easy activities, simple schedules, and sanity-saving ideas for parents who want more connection and less screen time. It is not about being perfect. It is about having a plan for those moments when everyone is bouncing off the walls.
Grab your free kit and let's make this your most creative Earth Day yet.